Save
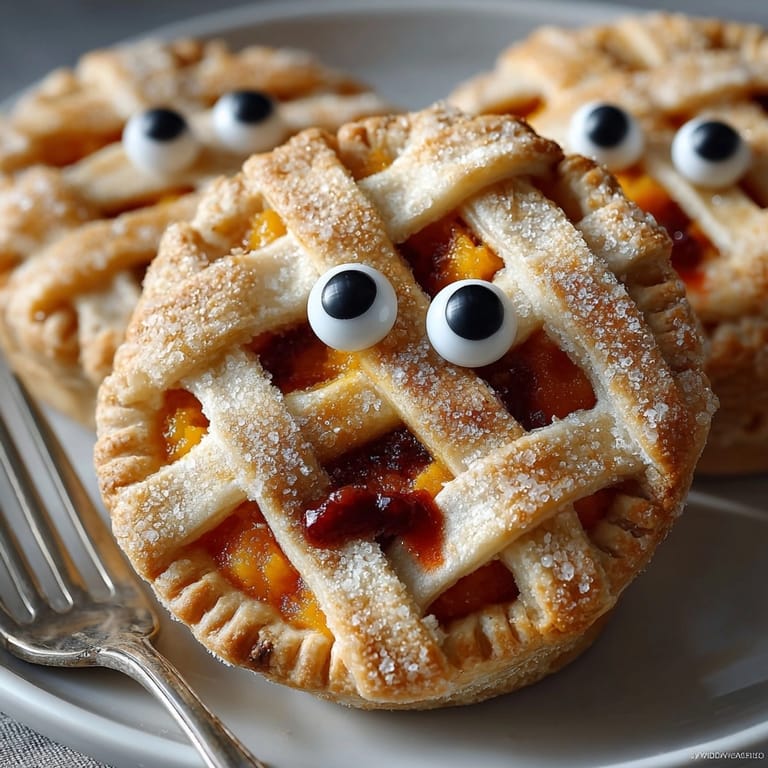
Save These mummy pumpkin hand pies dress up your favorite spiced pumpkin filling in golden, flaky pie crust wraps for a treat that is as delightful as it is spooky. I love making these every fall,whether for a Halloween party or cozy family night, they are always the first to disappear from the dessert table.
I made these last autumn for a classroom party and the kids could not stop giggling as they placed the candy eyes on their mummies. It has quickly become our family’s favorite fall baking activity.
Ingredients
- Refrigerated pie crust sheets: Provide a buttery, flaky vessel and make the process quick and simple. Look for brands with real butter for best flavor.
- Canned pumpkin purée: Delivers that classic earthy, creamy pumpkin flavor. Choose 100 percent pure pumpkin and avoid pie filling for best results.
- Brown sugar: Deepens the sweetness and gives a subtle caramel note. I prefer dark brown sugar for a richer taste.
- Ground cinnamon, nutmeg, cloves, and ginger: Bring that unmistakable autumn spice warmth. Freshly ground spices make the flavors really sing.
- Egg yolk: For the filling gives richness and helps thicken the pumpkin mixture.
- Salt: Balances sweetness and enhances all other flavors. Sea salt or kosher salt works well.
- Egg: For brushing binds the crust layers and creates a glossy, golden finish.
- Candy eyeballs: Turn these little pies into adorable mummies. I sometimes swap for mini chocolate chips if candy eyes are hard to find.
Tired of Takeout? 🥡
Get 10 meals you can make faster than delivery arrives. Seriously.
One email. No spam. Unsubscribe anytime.
Instructions
- Prepare to Bake:
- Set your oven to 375 degrees Fahrenheit so it heats up fully as you work. Line a baking sheet with parchment paper for easy cleanup and to prevent sticking.
- Mix the Pumpkin Filling:
- In a medium bowl, combine pumpkin purée, brown sugar, cinnamon, nutmeg, cloves, ginger, salt, and egg yolk. Stir with a sturdy spoon until the mixture is velvety smooth without streaks. This ensures even flavor in every bite.
- Shape the Dough:
- On a lightly floured countertop, gently roll out each pie crust sheet so it is even all over. Use a ruler and a sharp knife or pizza cutter to slice out sixteen rectangles, each about two by four inches. Set half aside for bottoms, the rest for bandages.
- Fill the Bases:
- Arrange eight dough rectangles on your prepared baking sheet with a little breathing room between each. Drop a rounded tablespoon of pumpkin filling in the center of each, leaving a neat border for sealing later.
- Create the Mummy Bandages:
- Cut each of the remaining rectangles into thin strips with your knife or pizza cutter. Strips should be just a bit wider than linguine so they lay on the pie without overlapping too much.
- Seal and Wrap:
- Brush the edge of each filled base with beaten egg using a pastry brush. Carefully crisscross the dough strips over the tops, pressing lightly to stick and trimming any that hang over the sides. Press edges with your fingertip or a fork to seal.
- Apply the Egg Wash:
- Generously brush more beaten egg over the tops and sides of each pie. This step is the secret to that shiny golden look and helps crisp the bandages.
- Bake to Golden Perfection:
- Slide the sheet into the oven and bake for about twenty minutes. The pies should be a deep, even golden brown all over and just starting to look crisp at the edges.
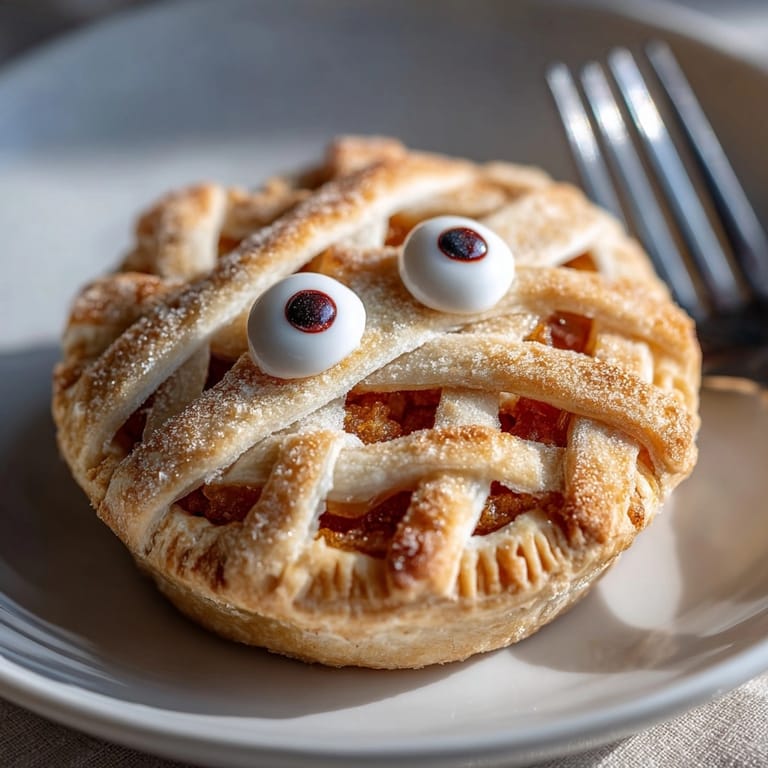
- Add the Eyes:
- Cool pies on the tray for five minutes so they firm up but are still soft enough to press on the candy eyes. Nestle two eyes on each pie where they peek out from the bandages.
- Serve and Enjoy:
- Transfer to a wire rack or platter. Serve warm for melty filling or at room temperature for lunches and parties.
 Save
Save Rolling out and cutting the bandages was always my kids’ favorite part growing up. Seeing their creations emerge from the oven inspired some of our best autumn memories around the kitchen table.
Storage Tips
Let pies cool to room temperature before storing. Place in an airtight container and keep on the counter for up to two days. For longer storage, stack between layers of parchment and keep in the freezer for up to one month. Reheat in a 325 degree oven until crisp again.
Ingredient Substitutions
Sweet potato purée stands in nicely for pumpkin if you want a new flavor. Store bought gluten free crusts work if allergies are a concern. If you do not have brown sugar you can use coconut sugar or maple sugar for a different sweetness.
Serving Suggestions
Serve on a Halloween dessert tray alongside caramel apples and popcorn balls. Pair with hot apple cider or homemade vanilla ice cream. Let everyone decorate their own with mix and match candy for a fun group activity.
Cultural and Historical Context
Hand pies in various forms date back for centuries as easy, portable desserts. Wrapping these in bandages is a playful twist on classic American pumpkin pie with just enough spooky charm to keep kids and adults smiling.
Seasonal Adaptations
Choose butternut squash purée for a lighter, floral spin. Double the cinnamon and add orange zest for an extra cozy aroma. Sprinkle a little raw sugar on top before baking for a magical golden crunch.
Helpful Notes
Candy eyes can be swapped for chocolate chips or piped icing dots. For flakiest results keep everything cold until ready to bake. Use a firm hand sealing edges so no filling leaks out.
Success Stories
I heard from a neighbor that these were the treat all the kids remembered at her Halloween party. My youngest niece even brought leftovers to school the next day to show her classmates. There is just something so whimsical about seeing those little mummy faces lined up on a platter.
Freezer Meal Conversion
Make the pies through forming and wrapping. Lay them out in a single layer on a tray in the freezer. Once solid, transfer to a freezer bag. Bake directly from frozen, just add an extra few minutes and decorate after they cool.
 Save
Save These hand pies will bring smiles to any fall gathering. Bake a batch and watch spooky season come alive!
Recipe Questions
- → How do I get the mummy effect with the pastry?
Cut the pie dough into rectangles, slice strips for the top layer, then crisscross them over the pumpkin filling to create bandages.
- → Can I make these pies ahead of time?
Yes, prepare and bake the hand pies in advance. Store in an airtight container for up to two days for best freshness.
- → Are candy eyes necessary, or is there an alternative?
Candy eyes add a playful touch, but small chocolate chips can be substituted for decoration.
- → Is homemade pie dough recommended?
Store-bought or homemade pie dough both work well. Homemade dough may yield an even flakier texture.
- → What's the best way to serve these treats?
Serve warm straight from the oven or at room temperature for convenient snacking at parties or gatherings.
- → Can I use a different filling?
Other fall fillings like apple or sweet potato purée can be used for variation, adjusting spices to suit your taste.