 Save
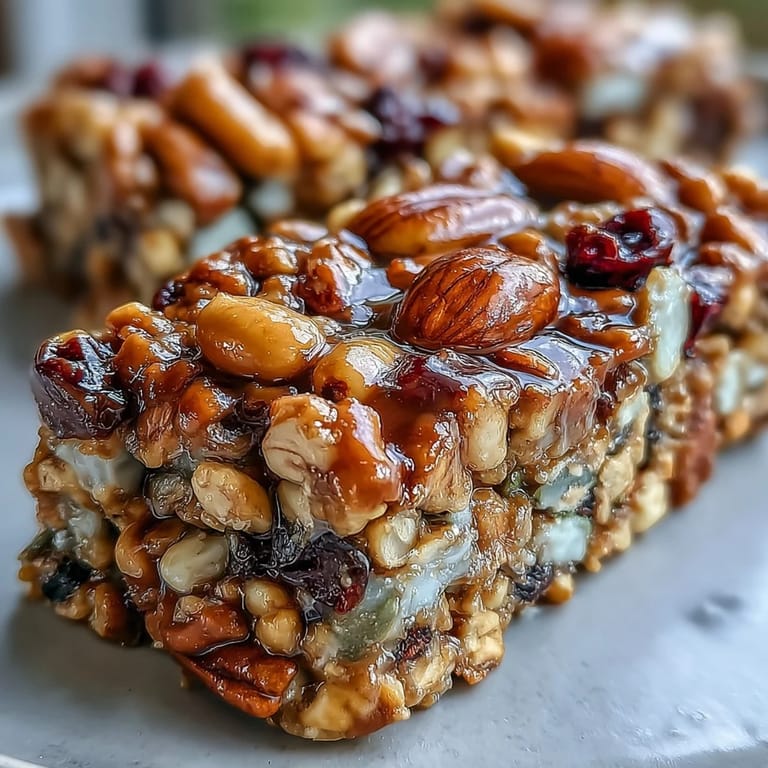
Save My kitchen was chaos that Tuesday morning—two kids hungry before school, my coffee still cold, and nothing but good intentions in the pantry. I grabbed whatever I had: oats, honey, some nuts I'd been meaning to use, dried cranberries lingering from last month. Twenty minutes later, these bars were cooling on the counter, and suddenly everyone was quiet, actually eating something wholesome without complaint. That's when I knew I'd found something worth making again and again.
I brought these to a hiking trip last summer, stuffed them into ziplock bags thinking they'd be emergency rations. Instead, people were asking for seconds while still on the trail, and someone actually wanted the recipe before we even made it back to the parking lot. That's when I realized these bars had quietly become something special—the kind of snack that bridges the gap between "good for you" and "actually delicious."
Ingredients
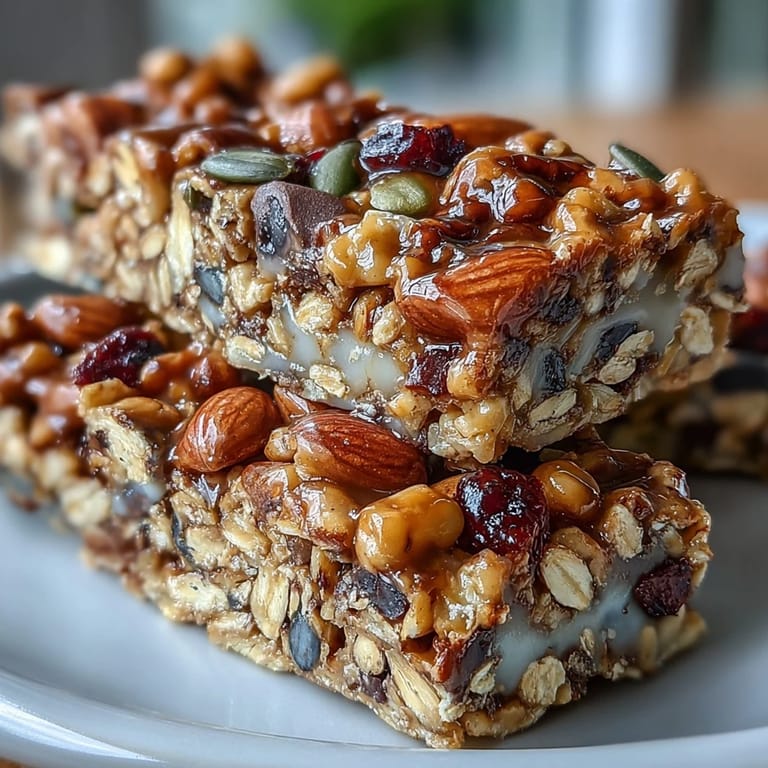
- Old-fashioned rolled oats (2 cups): These are your backbone—they give the bars texture and chew without turning into dust. Steel-cut oats won't work here; they stay too rigid and won't bind properly.
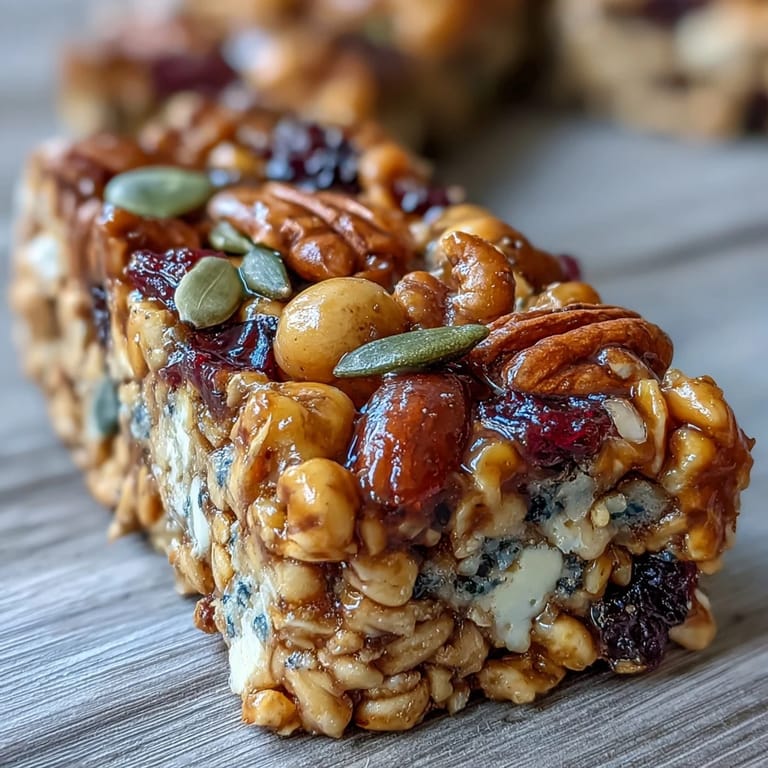
- Mixed nuts (1/2 cup chopped): I use whatever's on hand: almonds, walnuts, pecans, or even cashews if I'm feeling fancy. Chop them fairly small so they integrate rather than poke out awkwardly.
- Sunflower or pumpkin seeds (1/3 cup): These add a subtle nuttiness and keep things interesting texture-wise. I've learned that seeds help the bars hold together almost as much as the binding liquid does.
- Dried cranberries or raisins (1/2 cup): The tartness of cranberries brightens everything, but raisins work beautifully if that's what you have. Chop larger pieces so you actually taste them in each bite.
- Mini chocolate chips (1/4 cup, optional): I call these optional because they're truly not necessary, but they do make the bars feel more indulgent without overwhelming the wholesome vibe.
- Honey (1/3 cup): This is your main sweetener and binder—use real honey, not the squeeze bottle stuff, because it matters here. It caramelizes slightly during baking, deepening the flavor.
- Unsalted butter (1/4 cup): Room temperature butter mixes more easily, but cold butter works too if you're patient. This is what gives the bars their slight richness and helps everything cohere.
- Light brown sugar (1/4 cup packed): The molasses in brown sugar adds depth that white sugar can't match. Pack it down when measuring so you're getting the right amount.
- Vanilla extract (1/2 tsp): A small amount goes a long way—it ties all the flavors together without making anything taste like a candle.
- Salt (1/4 tsp): This small pinch is crucial; it brightens the sweetness and brings out the toasted notes in the oats and nuts.
Tired of Takeout? 🥡
Get 10 meals you can make faster than delivery arrives. Seriously.
One email. No spam. Unsubscribe anytime.
Instructions
- Get your oven ready and prep the pan:
- Preheat to 350°F and line your 8-inch square pan with parchment paper, leaving a little overhang on two sides so you can lift everything out later. This step saves your sanity when it's time to cut.
- Combine all the dry things:
- Dump oats, nuts, seeds, dried fruit, and chocolate chips into a large bowl and give everything a good toss. This ensures the mix-ins are distributed evenly before the wet ingredients hit, so you don't end up with nut-heavy or fruit-heavy bars.
- Create the sticky binder:
- In a small saucepan over medium heat, melt butter with honey and brown sugar, stirring until it's completely smooth and the sugar has dissolved. You're looking for a glossy, unified mixture—this usually takes about 3 minutes. Remove from heat and stir in vanilla and salt while it's still warm so everything blends seamlessly.
- Bring it all together:
- Pour the warm honey mixture over your dry ingredients and mix thoroughly until every oat and nut is coated and glistening. The mixture should feel like it's clinging together, not dry or crumbly.
- Pack it into the pan:
- Spread the mixture into your prepared pan and press down firmly using a spatula or even your hands (wet hands work better here, trust me). You want it compressed so the bars hold together when you cut them, not so much that they become dense.
- Bake until golden:
- Bake for 18–20 minutes, watching until the edges turn a light golden brown—the center will still look slightly underdone, and that's exactly right. They firm up as they cool, so don't overbake or they'll turn hard and brittle.
- Cool completely before cutting:
- Let them sit in the pan until they're completely cool; this usually takes about 10 minutes. Then lift the whole thing out using your parchment overhang and slice into 12 bars with a sharp, dry knife (a light sawing motion works better than pressing down).
 Save
Save There's something quietly satisfying about wrapping these bars in foil and sliding them into lunch boxes, knowing that for once, everyone's eating something that fuels them instead of crashing them an hour later. They became part of my weekday rhythm without me even planning it that way.
Why These Bars Became My Go-To
I stopped buying those expensive granola bars from the grocery store after realizing I could make an entire batch for less than the price of three packaged ones. Beyond the budget thing, there's real power in knowing exactly what's in your food—no mystery ingredients, no preservatives, just whole things bound together with honey and butter. Once you taste the difference between homemade and store-bought, it's hard to go back.
Customizing Your Bars
The beauty of this recipe is how flexible it actually is—I've made versions with coconut flakes, different seed combinations, and even added a teaspoon of cinnamon when I was feeling adventurous. You could swap dried apricots for cranberries, or use tahini in place of some of the butter if you're into that. The core formula stays the same, but your variations make them feel brand new every time.
Storage and Keeping Them Fresh
These bars live happily in an airtight container on the counter for almost a week, though they rarely last that long in my house. If you want to stretch them further, you can refrigerate them for up to two weeks or even freeze individual bars wrapped in parchment and tucked into a freezer bag for a month. I've grabbed a frozen bar straight from the freezer on hectic mornings, and by the time I need a snack, it's perfectly thawed and ready to eat.
- A light drizzle of melted chocolate on top elevates them to something almost fancy.
- If your bars seem too soft after a few days, store them with a piece of bread in the container to absorb excess moisture.
- Make a double batch and freeze half—future you will be grateful on a chaotic Tuesday morning.
 Save
Save These bars have become the thing I make when I want to feel like I'm taking care of people without making a huge production of it. They're simple enough that I'm not stressed, but thoughtful enough that everyone knows I actually tried.
Recipe Questions
- → Can I substitute nuts or seeds in the bars?
Yes, you can swap nuts and seeds according to preference or dietary needs. Consider almonds, walnuts, pecans, pumpkin seeds, or sunflower seeds.
- → What is the best way to press the mixture into the pan?
Use a spatula or your hands to firmly press the mixture evenly into the lined pan, ensuring compact bars that hold together well after baking.
- → Can I make these bars vegan-friendly?
For a vegan variation, replace butter and honey with coconut oil and maple syrup, keeping the texture and sweetness balanced.
- → How should I store the bars to keep them fresh?
Store the cooled bars in an airtight container at room temperature for up to one week to maintain freshness and texture.
- → Is it possible to add chocolate to these bars?
Yes, mini chocolate chips can be mixed in before baking or drizzle melted chocolate over cooled bars for extra indulgence.