 Save
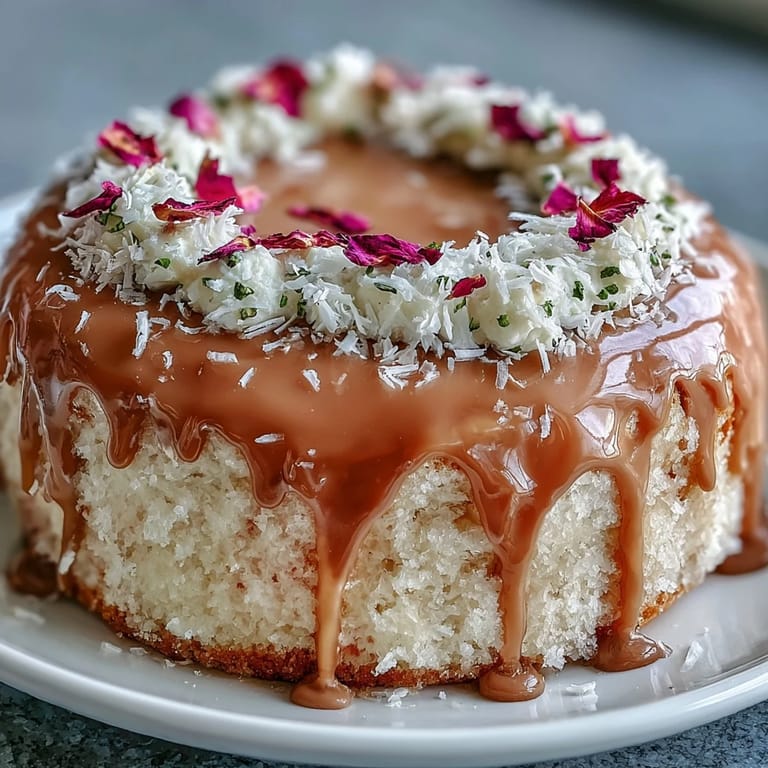
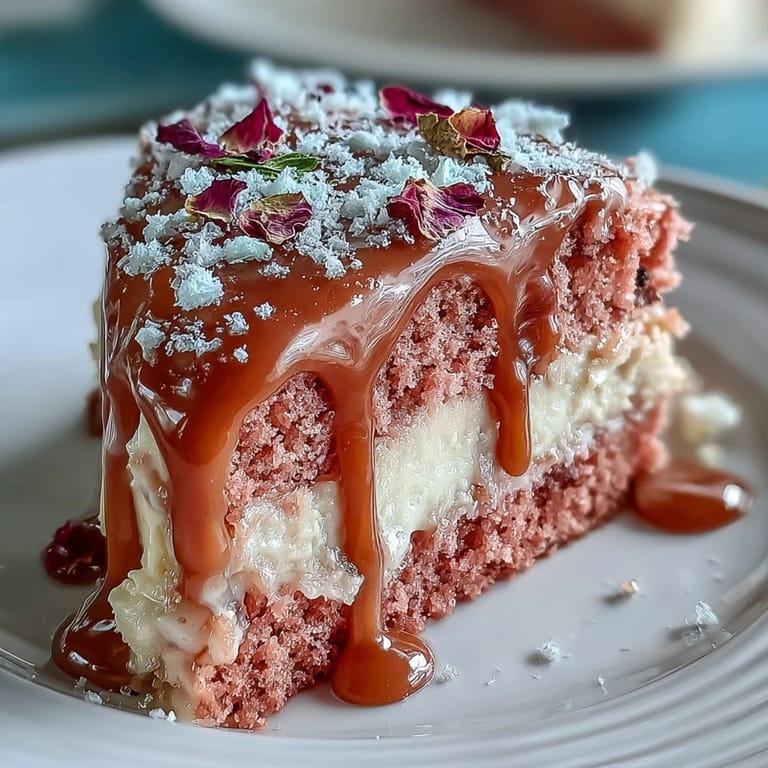
Save There’s something quietly thrilling about the first waft of rosé drifting from a pink velvet batter. I learned this on a rainy afternoon, music playing softly, as I experimented with a new twist to please my friend’s bridal shower crowd. The kitchen was splattered with pastel batter and flecked with edible gold dust—tiny clues that something a little magical was about to emerge. The sparkling, delicate layers and shimmering gold caught even my own eye as I stepped back to admire the finished cake. Few desserts truly feel like a celebration as much as this Rosé Velvet Cake does.
One of my fondest kitchen memories is nervously brushing shimmering gold onto this cake’s drips while my best friend sat perched on the counter, quizzing me about wedding playlists. We laughed about how neither of us had ever painted on a cake before, our hands jittery from too much coffee and happy anticipation.
Ingredients
- All-purpose flour: Sifting ensures a tender crumb and prevents any lumps for a smooth, elegant cake.
- Granulated sugar: Essential for sweetening and providing a crisp edge to the layers, but I always give it an extra whisk so it blends evenly.
- Baking soda: The leavening power that helps each tier rise just enough—don’t skip the level measurement.
- Fine salt: This tiny pinch highlights the other flavors and shouldn’t be overlooked.
- Cocoa powder (unsweetened): Just a tablespoon brings a subtle richness and deepens the pink hue.
- Vegetable oil: Oil keeps the cake ultra-moist, especially when making layers a day in advance.
- Large eggs: Letting them come to room temperature helps the batter blend more smoothly—I once forgot and ended up with streaks.
- Buttermilk: The acidity not only tenderizes but teams up with baking soda for a soft crumb.
- Rosé wine: Brings a gentle floral-fruity undertone I can only describe as festive.
- Vanilla extract: A good-quality vanilla adds gorgeous warmth—splurge a little here if you can.
- White vinegar: Reacts with the baking soda for lift; yes, it’s classic for velvet cakes.
- Pink or rose gel food coloring: Gel colors bring vibrancy without watering down your batter—add gradually to reach your perfect shade.
- Unsalted butter (for buttercream): Room temp means it whips up fluffier for that dreamy texture.
- Powdered sugar: Sifting is the difference between a smooth buttercream and a gritty one.
- Rosé wine (for buttercream): Gives the frosting a grown-up twist—adjust to taste for touchable lightness.
- Heavy cream (for drip): Ensures the white chocolate flows easily but stays thick enough to create beautiful drips.
- White chocolate chips: The base for a glossy, blendable drip that’s easy to paint after cooling.
- Edible gold luster dust: For the final wow factor, but remember to always use a brand labeled food-safe.
- Vodka or clear lemon extract: Liquifies the gold dust for painting—vodka evaporates quickly for best results.
Tired of Takeout? 🥡
Get 10 meals you can make faster than delivery arrives. Seriously.
One email. No spam. Unsubscribe anytime.
Instructions
- Get the pans ready:
- Preheat your oven to 350°F (175°C), grease, and line three 8-inch pans with parchment—hearing the parchment crinkle always signals something special is starting.
- Mix the dry ingredients:
- Sift together flour, sugar, baking soda, salt, and cocoa powder in a big bowl; watch the cocoa swirl into the soft white mound.
- Whisk the wet ingredients:
- Whisk oil, eggs, buttermilk, rosé, vanilla, and vinegar in a separate bowl until all glossy and unified—let the anticipation build with the wine’s fragrance.
- Combine wet and dry:
- Pour wet over dry and gently fold, stopping as soon as you don’t see flour; swirl in pink gel food coloring until it’s blushing the way you want.
- Bake the cakes:
- Divide the batter evenly in the pans, slide into the oven, and let them bake for 30-35 minutes until a toothpick just comes out clean from the center.
- Cool completely:
- Let cakes rest in their pans for 10 minutes, then carefully flip onto a wire rack—smell that subtle fruity warmth as they cool.
- Make the rosé buttercream:
- Beat room temp butter until creamy, then add sifted powdered sugar cup by cup, followed by rosé, vanilla, and a pinch of salt—keep going until it’s billowy and pale pink.
- Layer and crumb coat:
- If needed, level the cake tops; stack gently with buttercream between each layer, do a quick crumb coat around the outside, and chill for 20 minutes to set.
- Final coat and smooth:
- Spread on the final layer of buttercream—it should glide like satin—then use an offset spatula for those perfect, crisp sides.
- Create the gold drip:
- Melt white chocolate chips and cream together, stir until silky, and let it cool for 10 minutes so it won’t melt the frosting.
- Drip and gild:
- Slowly spoon the cooled white chocolate around the cake’s edge and let it cascade down the sides; once set, stir gold luster dust with vodka and paint the drips with a gentle hand.
- Decorate and finish:
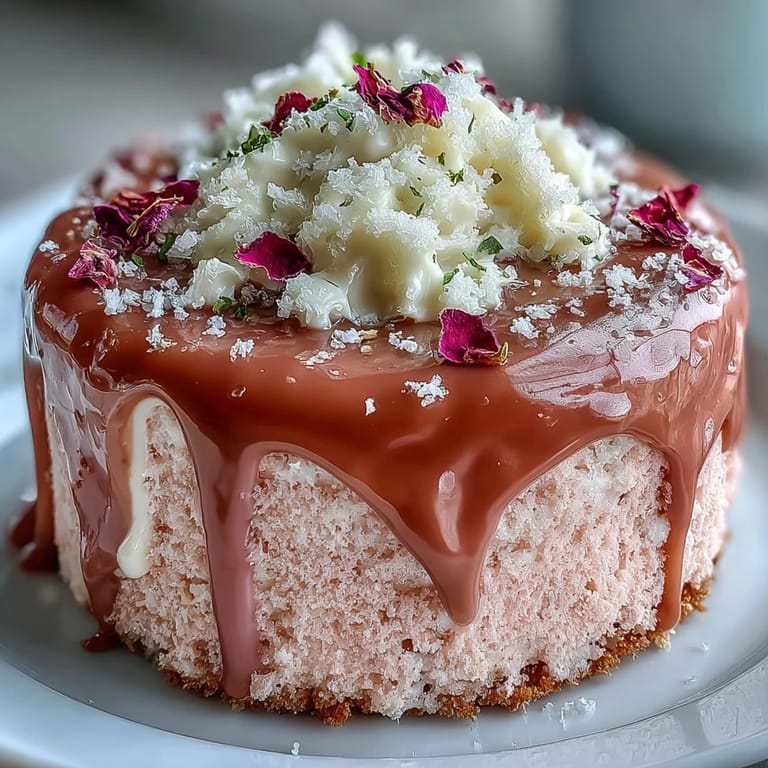
- Complete with edible gold accents, a scattering of rose petals, or berries—each detail celebrates the person of the hour.
 Save
Save There’s a quiet hush when this cake makes its entrance—a moment when the crowd’s chatter falls away, and those shimmering gold drips capture the glow of the occasion. Watching everyone’s faces light up, I’m always reminded how a little creativity can turn a simple cake into the heart of a celebration.
How I Learned to Paint Cake Drips
The first time I tried painting gold drips, I was terrified I’d destroy all my hard work. But I realized it’s best approached with a steady hand and a sense of humor—the little imperfections actually made it look more bespoke and beautiful.
Chilling: The Real Secret to Sharp Layers
Don’t rush the chilling step, even if you’re tight on time. A quick chill sets the buttercream perfectly and makes it so much easier to achieve those dramatic, crisp cake sides everyone loves to slice through.
Swapping Decorations to Suit the Occasion
If edible gold accents aren’t your style, I’ve swapped them for fresh raspberries or sugared rose petals—it always gets a reaction either way.
- Try candied citrus peel for a zesty topper.
- Freeze-dried fruit adds a pop of color.
- When in doubt, keep it simple; the pink and gold really do all the talking.
 Save
Save Trust me, even if your hands tremble or the first drip isn’t perfect, this cake has a way of dazzling anyway. There’s real joy in crafting something so celebratory—it always brings smiles (and second slices) every time.
Recipe Questions
- → Can I use sparkling rosé instead of still?
Yes. A dry sparkling rosé adds a delicate effervescence and floral lift; reduce other liquid slightly if the wine is very bubbly. Fold gently to avoid deflating the batter.
- → How do I avoid a soggy crumb when adding rosé?
Balance liquid by using measured rosé and full-fat buttermilk. Mix just until combined, bake until a toothpick comes out clean, and cool fully in pans before removing to avoid excess moisture absorption.
- → What’s the best way to get smooth buttercream?
Beat butter until pale and airy, add sifted powdered sugar gradually, then add rosé and vanilla. Chill a thin crumb coat, then apply the final layer and smooth with a warmed offset spatula or bench scraper on a turntable.
- → How do I make the gold drip adhere and shine?
Let the white chocolate drip cool slightly before applying so it sets slowly on the edge. Mix edible gold luster dust with a little clear alcohol or lemon extract to make a paint and brush onto set drips for a metallic finish.
- → Can this be made ahead and how should it be stored?
Yes. Assemble and chill overnight; store covered in the refrigerator. Remove an hour before serving to reach room temperature. Slices keep airtight in the fridge for 2–3 days.
- → Any substitutions for dietary needs?
Use nondairy butter and a dairy-free white chocolate alternative for a vegan-adapted version; swap a gluten-free flour blend but expect slight texture changes and adjust baking time as needed.