 Save
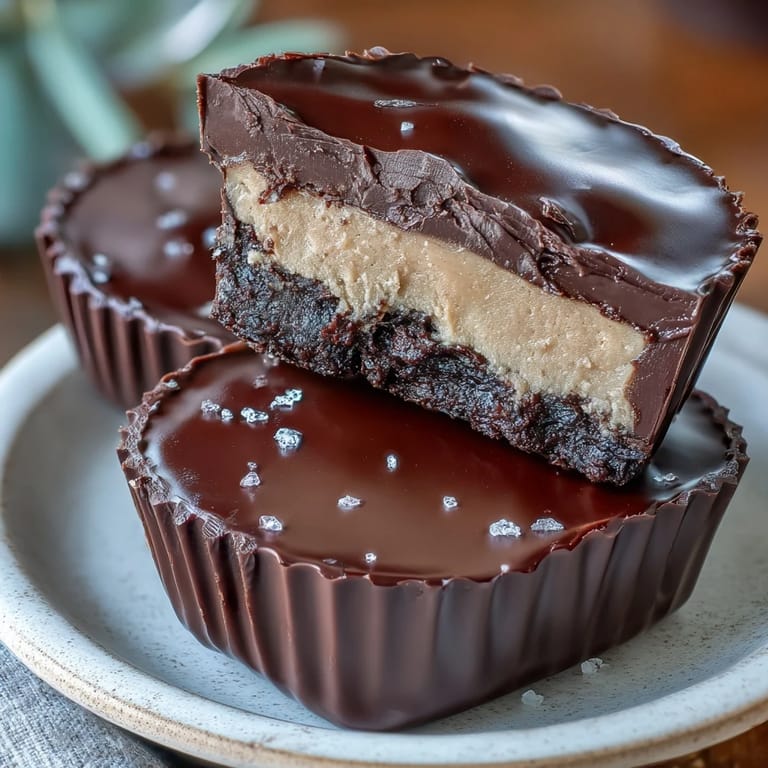
Save My kitchen smelled like a candy factory the afternoon I decided to stop buying those mass-produced peanut butter cups and just make them myself. It felt almost reckless, standing there with dark chocolate melting into glossy ribbons and creamy peanut butter waiting to be tamed with butter and sugar. That first batch taught me something simple: homemade versions taste so much better because you get to control every layer, every ratio, every tiny decision. The moment I bit into one still cool from the fridge, I understood why people become obsessed with making their own candy.
I made these for my sister's birthday last winter when she mentioned offhandedly that she could eat peanut butter cups every single day if she didn't feel guilty about it. So I didn't tell her until she was halfway through the first one, and watching her eyes light up when she realized they were homemade felt like the whole project was worth it. She ate four that night and texted me the next morning asking if I could make them again before the week ended. That's when I knew this recipe was keeper.
Ingredients
- Dark chocolate (250 g, 70% cocoa or higher): Don't skimp here because the chocolate is honestly half the story, and high cocoa content gives you that rich, slightly bitter edge that makes peanut butter taste like the best thing you've ever paired it with.
- Coconut oil (1 tbsp, optional): This is the secret whisper that keeps your chocolate smooth and makes it easier to work with without changing the flavor one bit.
- Creamy peanut butter (120 g, unsweetened and unsalted): The unsweetened part matters because you're controlling the sugar yourself, which means no weird aftertaste creeping in.
- Unsalted butter (2 tbsp, softened): Softened means it blends seamlessly with the peanut butter, creating that signature creamy texture you're after.
- Powdered sugar (60 g, sifted): Sifting takes a minute but prevents lumps from ruining your smooth filling, and lumpy peanut butter filling is sadness in chocolate form.
- Fine sea salt (¼ tsp): Just enough to make people ask what you did differently, because salt amplifies sweetness in ways people can't quite put their finger on.
- Vanilla extract (½ tsp): A tiny amount rounds out the flavors and prevents the filling from tasting one-dimensional.
Tired of Takeout? 🥡
Get 10 meals you can make faster than delivery arrives. Seriously.
One email. No spam. Unsubscribe anytime.
Instructions
- Set up your stage:
- Line your mini muffin tin with paper liners and place it near your workspace so you're ready to move quickly once the chocolate is melted. Having everything prepared before you start is the difference between a smooth process and one where you're scrambling.
- Melt the chocolate properly:
- Use a heatproof bowl over simmering water or microwave in 20-second bursts, stirring between each one until silky and smooth. Overheating chocolate turns it grainy and bitter, so patience here pays off big.
- Create the chocolate base:
- Spoon about a teaspoon of melted chocolate into each liner and tilt the tin so the chocolate coats the bottom and creeps slightly up the sides. The sides don't need to be perfect because the top layer will cover any gaps.
- Chill and firm up:
- Pop the chocolate-lined tin into the freezer for 10 minutes so the bases set completely and won't mix with your peanut butter layer. This is also a good time to start mixing your filling.
- Mix the peanut butter filling:
- Combine peanut butter, softened butter, sifted powdered sugar, salt, and vanilla in a medium bowl and stir until smooth and thick. The texture should be spreadable but hold its shape, not crumbly or too soft.
- Add the peanut butter layer:
- Roll about a teaspoon of filling into a ball, flatten it slightly, and place it on each chocolate base, pressing gently to create an even layer with a small border showing the chocolate beneath. That chocolate rim is what makes these look professionally made.
- Top with chocolate:
- Spoon the remaining melted chocolate over each peanut butter layer, making sure they're completely covered, then tap the tin gently against the counter to help the chocolate settle and smooth. It doesn't need to be perfect because these are homemade, which means imperfect is part of the charm.
- Final chill:
- Refrigerate for at least 30 minutes until everything is fully set and the cups pop out of their liners without sticking. If you're impatient like I am sometimes, the freezer will do it in 15 minutes.
 Save
Save There was this moment while making a batch for a potluck where a friend walked into my kitchen mid-process and just stood there watching the layers come together. They didn't say anything for a full minute, just observed, and then they quietly asked if they could stay and help. We ended up talking for two hours while the chocolate set, and somehow these cups became less about the recipe and more about the conversation, the kitchen filling with that kind of comfortable quiet that only happens when you're making something with your hands. That's when I realized homemade candy is really just an excuse to be present with someone.
Chocolate Temperature Matters
Getting the chocolate to the right temperature and thickness is like learning a language your hands understand instead of your brain. Too thin and it won't coat properly; too thick and it clumps up. I learned to test consistency by dipping a spoon and watching how it flows off—smooth like ribbons means you're ready, thick and sluggish means you need heat. The coconut oil helps tremendously here because it keeps everything fluid without compromising flavor, though it's genuinely optional if you prefer chocolate that's slightly stiffer.
The Peanut Butter Balance
The magic of these cups lives in that peanut butter filling because it's not just peanut butter mashed together but a carefully balanced mixture where butter adds richness and powdered sugar creates texture while the salt makes you crave another bite. I once tried substituting regular sugar for powdered sugar thinking it wouldn't matter, and the filling came out grainy instead of creamy—lesson learned the hard way. The vanilla is barely perceptible but it prevents the filling from tasting purely one-note and gives it a subtle sophistication that makes people wonder what you did differently.
Storage and Serving Wisdom
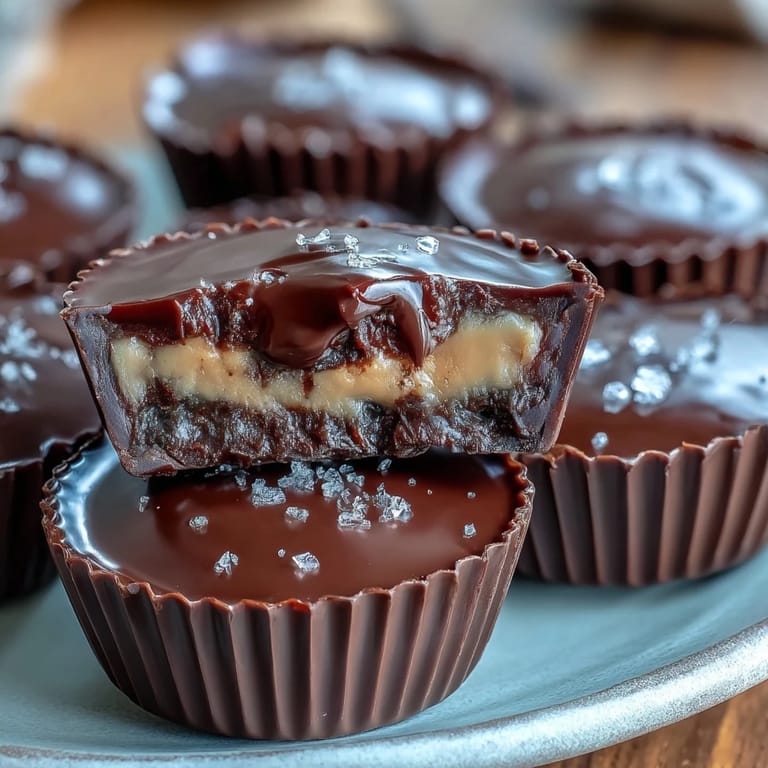
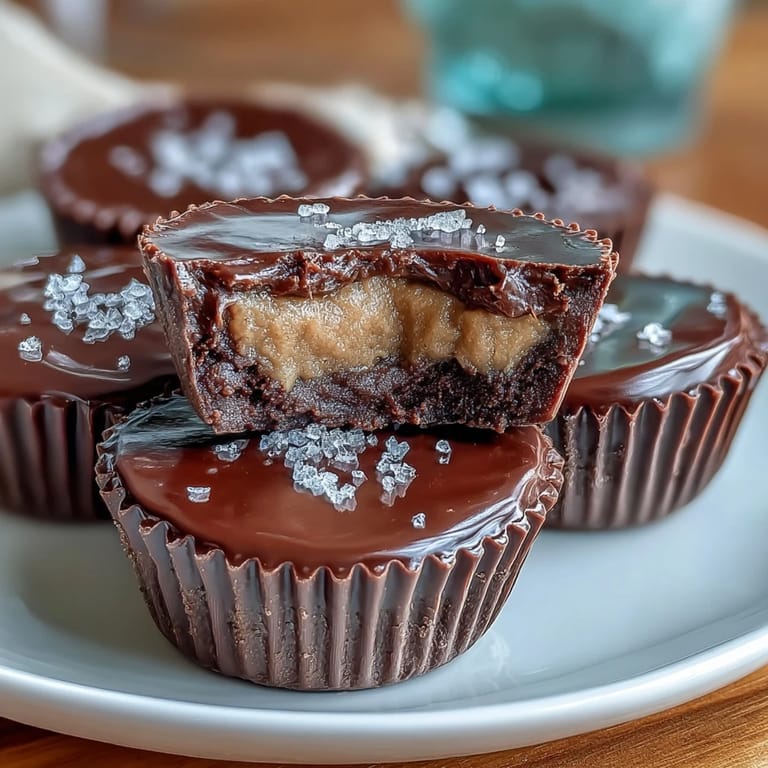
These cups keep beautifully in an airtight container in the refrigerator for up to a week, though they rarely last that long in my house. At room temperature they'll start to soften within an hour or so, which is fine if you prefer them slightly less firm, but the fridge is where they shine. They pair impossibly well with strong coffee or cold milk, and if you're feeling fancy, a sprinkle of flaky sea salt on top before the final chill adds an elegant touch that feels like a secret only you know about.
- Make these a day ahead so the flavors fully meld and the chocolate sets completely hard.
- Try almond butter or cashew butter if you want to play around with the filling without starting from scratch.
- Always remove them from the liners just before serving so they don't stick to the paper as they warm up.
 Save
Save Making homemade peanut butter cups taught me that simple recipes with just a few ingredients become masterpieces when you respect each component and take your time. Once you've made them once, you'll be making them again and again, probably for people you love.
Recipe Questions
- → How do I melt the chocolate without burning it?
Melt chocolate gently over simmering water or in short microwave bursts, stirring frequently until smooth.
- → Can I use other nut butters instead of peanut butter?
Yes, almond or cashew butter can be used to create different flavor variations.
- → Why add coconut oil to the chocolate?
Coconut oil smooths the melted chocolate and helps it set with a nicer texture.
- → How long should the cups chill before serving?
Chill for at least 30 minutes or until fully firm for best texture.
- → Are these cups suitable for gluten-free diets?
When using gluten-free chocolate and ingredients, these cups are safe for gluten-free diets.
- → Can I add sea salt to enhance flavor?
A light sprinkle of flaky sea salt before chilling adds a pleasant contrast to the sweetness.